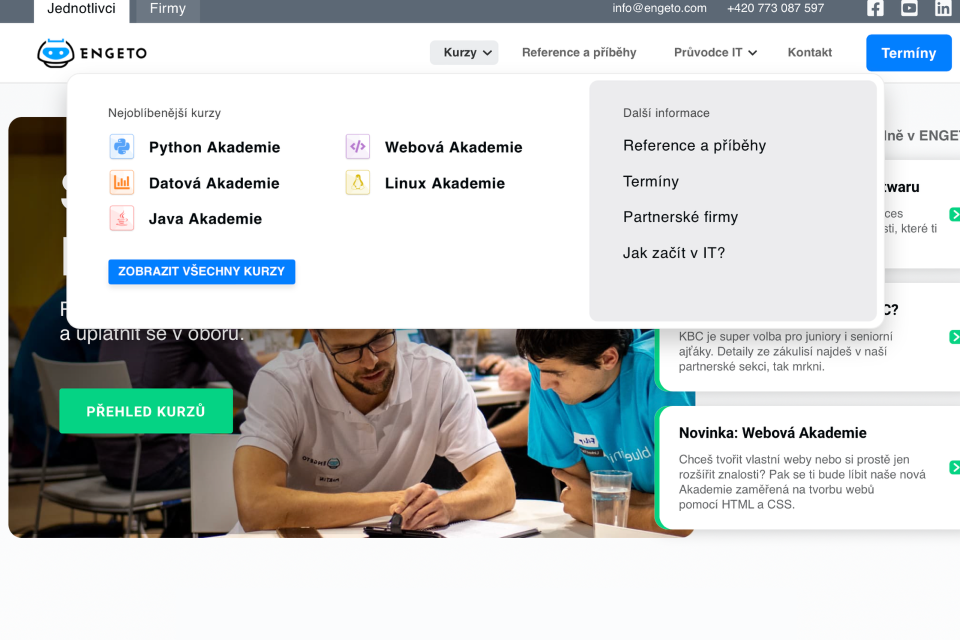
We have recently created an interesting solution for our client Engeto – a custom menu without the use of JavaScript. This way, we did not slow down the performance of their website. In today’s article, you can read about how we worked on the menu and about the benefits of a menu without JavaScript.
Meet Engeto
Engeto organizes IT courses for beginners and advanced, helping people find a job in the IT industry. They cooperate with partner companies and on their website, you will find stories told by their graduates about how Engeto basically started their IT career, sometimes even with no prior experience.
We already helped them create their Absolventi and Termíny pages. Its graphics was based on theirs and we added filtering that wasn’t possible before. Their customers can now filter courses and graduates more easily.
Engeto asked for different options for both individuals and corporate visitors on their website. This wasn’t entirely possible on their previous website and its template. So we have started working on a custom solution for them.
Benefits Of A Menu Without JavaScript
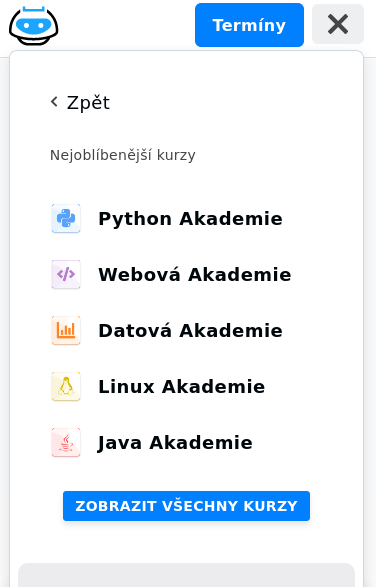
As I already mentioned, the menu is working even without the use of JavaScript. We decided not to use JavaScript because it is not always necessary and only slows down the website loading. It was also quite a challenge for us. I am personally very proud of the menu in the mobile version, including a back button used to redirecting from a submenu to a main menu.

- A loading speed of the website is not unnecessarily slowed down.
- This adjustment allows the customer to create a menu exactly according to their ideas and thus display their course offers and web content.
- Each page has an option in its administration to set which menu should be displayed in the header. Two menus are then managed in the settings. One for individual visitors, one for corporate visitors. This allows very simple administration and possible exchanges of menus for others.
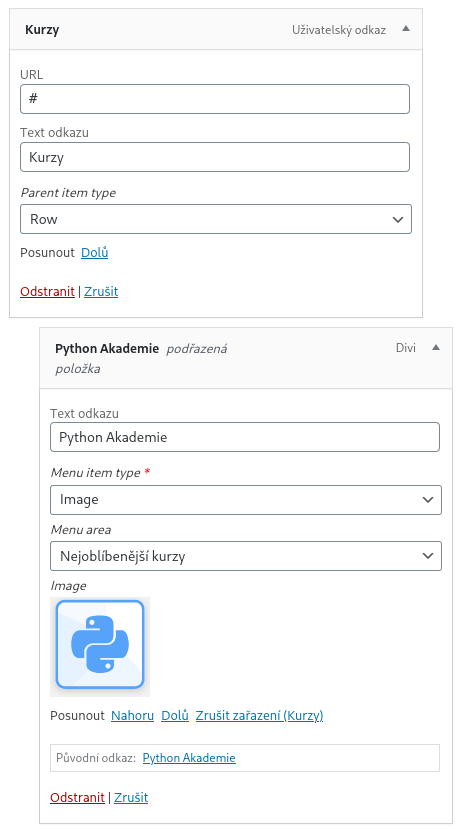
- The main menu is very easy to edit. All its elements are configurable via WordPress administration, so there is no need for a programmer to intervene in the code when any change is requested.

In order not to deceive you, I actually wrote one JavaScript code. The Divi template used on this website blocked the mobile access. Therefore, we had to write JavaScript that will bypass their JavaScript. The menu actually works best if you turn off JavaScript on the entire website, however, the rest of the website will refuse to work properly then.
How The Custom Menu Was Created
To create the menu, I used a combination of the <label> element and checkbox inputs. Thanks to their naming, these two elements can be linked, even if they are placed on different places on the page. Even better, it works the same way for multiple <label> elements linked to a single input. Thus, I achieved an opportunity to switch between a submenu and a main menu in the mobile version.
To fit all this information into a standard WordPress menu, I needed to write my own MenuWalker. That is a class that you assign to your menu and the individual parts of the menu are then listed accordingly. In the class, we can then modify its functions and add some custom items to the menu.
Use Of The WordPress Plugin
The last technology that I used for this project was the Advance Custom Fields (ACF) WordPress plugin.
I still enjoy the possibility to add custom items to different WordPress administration parts. However, I ran into a small problem.
ACF cannot define at which menu level you want to add new editable items.
So, I created a code that detects the level in which the menu is currently at, and then enables or disables ACF items. This way, it is easier for the administrator to make certain adjustments, working only with specific items that they are supposed to set at the moment.
If you are also interested in a custom solution, or you need to speed up your website or an advice, contact us, we are here for you.


